PRODUCT DESCRIPTION
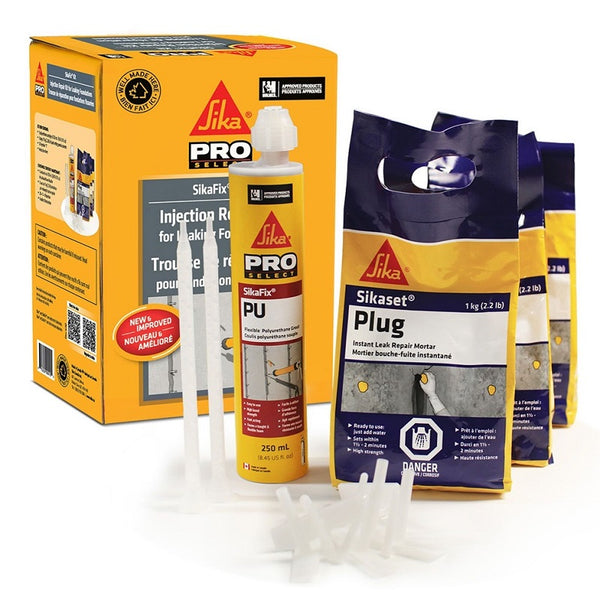
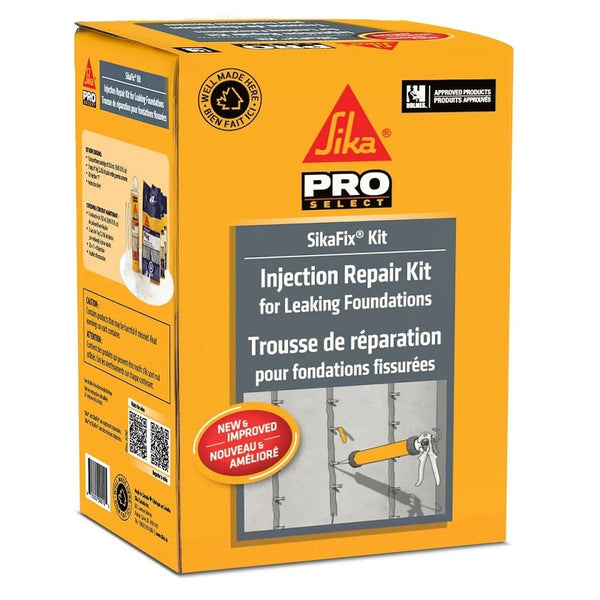
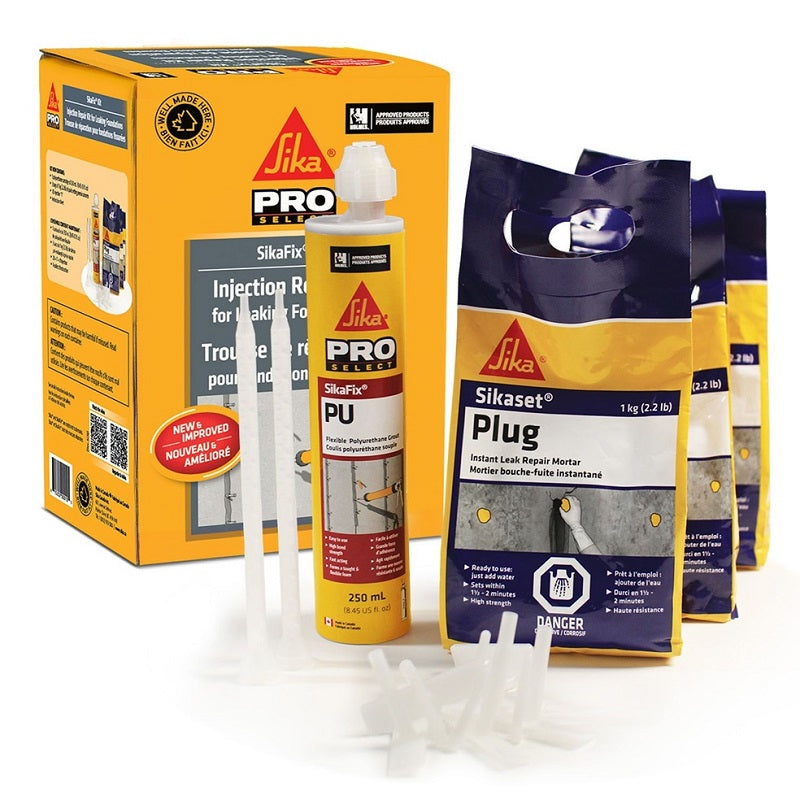
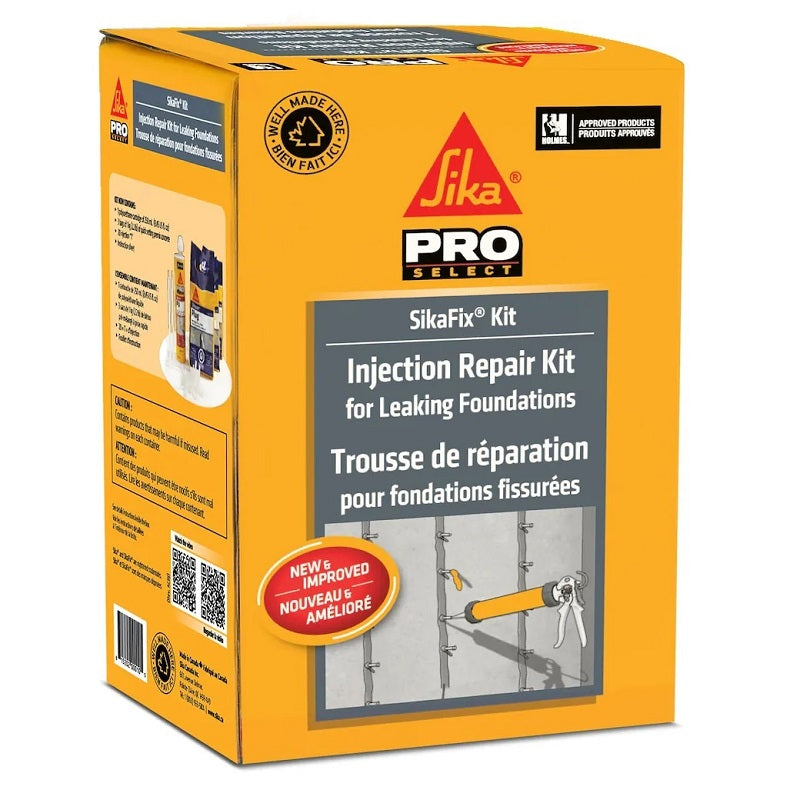
The SikaFix® Kit CA is an injection package for the repair of leaking cracks in foundations and waterproofing of piping penetrations, static joints and other types of
voids. The kit includes hydraulic mortar for crack plugging, injections T’s and a two-part expansive hydrophobic polyurethane grout that reacts to the presence of moisture by forming a tough and flexible foam firmly adhering to the crack walls to create a permanent seal.
WHERE TO USE
SikaFix® Kit CA may only be used by experienced professionals.
The SikaFix® Kit CA permanently stops the flow of unwanted water penetrating into or through:
SikaFix® Kit CA may only be used by experienced professionals.
The SikaFix® Kit CA permanently stops the flow of unwanted water penetrating into or through:
- Foundation and basement walls.
- Cracked or honey combed concrete.
- Concrete and masonry surfaces.
- Pipe and utilities penetrations.
- Wastewater or septic tanks.
- Economical and easy to apply.
- Complete kit supplied, no other materials needed.
- Does not require specialized equipment.
- Hydrophobic - only a small amount of water is needed for reaction.
- Lasting adhesion to wet and dry surfaces.
- Zero shrinkage maintains water tightness.
- Permanently flexible and tough seal.
- Environmentally friendly; cured product is inert.
PRODUCT INFORMATION
Packaging Kit includes:
- 250 mL (8.45 US fl. oz) cartridge of SikaFix® PU polyurethane grout
- 3 bags of 1 kg (2.2 lb) of Sikaset® Plug quick-set mortar
- 20 Sika® InjectionT’s ports with plugs
- Product data sheet (instructions)
Shelf Life 12 months in original, unopened packaging.
Storage Conditions Store between 10 - 32 °C (50 - 90 °F) in a dry place.
Protect from freezing. If frozen discard.
Colour Mortar: Concrete Grey
Grout: Light Amber
Elongation: 25 %
Shrinkage: 0 % (ASTM D1623)
Water Absorption: 0.19 kg/m2
Grout: Light Amber
Elongation: 25 %
Shrinkage: 0 % (ASTM D1623)
Water Absorption: 0.19 kg/m2
APPLICATION INFORMATION
Yield Typical crack: 2.4 m (8 ft) long x 200 mm (8 in) deep x 3 mm (1/8 in) wide.
Open Time Approx. 5 hours, providing no moisture enters the cartridge.
Yield Typical crack: 2.4 m (8 ft) long x 200 mm (8 in) deep x 3 mm (1/8 in) wide.
Open Time Approx. 5 hours, providing no moisture enters the cartridge.
BASIS OF PRODUCT DATA
Product properties are typically averages, obtained under laboratory conditions. Reasonable variations can be expected on-site due to local factors, including environment, preparation, application, curing and test methods.
Properties tested at +23 °C (+73 °F) and 50% R.H. unless stated otherwise.
Product properties are typically averages, obtained under laboratory conditions. Reasonable variations can be expected on-site due to local factors, including environment, preparation, application, curing and test methods.
Properties tested at +23 °C (+73 °F) and 50% R.H. unless stated otherwise.
LIMITATIONS
- Minimum substrate temperature 5 °C (41 °F).
- Minimum material temperature 15 °C (59 °F).
- Cured foam should be protected from sunlight.
- Confined, reacting SikaFix® PU can produce up to 3100 KPa (450 psi) pressure.
- Care must be taken when handling cement-based materials and resins.
- For any application in contact with potable water, consult Sika Canada.
ENVIRONMENT, HEALTH & SAFETY
User must read the most recent corresponding Safety Data Sheets (SDS) before using any products. The SDS provides information and advice on the safe handling, storage and disposal of chemical products and contains physical, ecological, toxicological and other safety-related data.
APPLICATION INSTRUCTIONS
SUBSTRATE PREPARATION
For cracks, joints or voids less than 6 mm (1/4 in) wide, create a ‘V’ notch at least 6 mm (1/4 in) wide and 13 mm (1/2 in) deep using an angle grinder, disc cutter or sharp,
hand chipping tool. Clean all cracks well with a wire brush to remove all dust, laitance (thin cement film), curing compounds, loose, friable and foreign particles, grease and any material which would obstruct bond of mortar and penetration of grout. Proceed to a final dusting of the crack before starting the injection process. Substrates should be clean and sound and moisture must be present to bond the mortar and activate the grout.
APPLICATION METHOD / TOOLS
Installing Sika® Injection T’s:
Starting from bottom of the crack and using a glue gun or silicone, install Sika® Injection T’s ports at 100 - 150 mm (4 - 6 in) intervals. For wider cracks, the interval
between each injection port can be increased to 150 - 200 mm (6 - 8 in ). Ensure each port is centered across crack and port is ready for injection. In order to prevent the injection ports to be accidentally clogged, they should be temporarily plugged using the plastic plugs that are supplied with the kit.
Plugging the Crack:
Wet crack thoroughly with clean water to ensure adhesion of Sikaset® Plug. Surfaces must be saturated but clear of standing water when plugging mortar is applied. Mix Sikaset® Plug powder with clean, cold water in ratio of 1 part water to 3 parts powder by volume and to the consistency of stiff putty. Apply immediately a layer of mortar layer of 6 mm (1/4 in) around Sika® Injection T’s ports and 3 mm (1/8 in) along the complete face of the crack.
Note: Mortar dries rapidly (1 1/2 - 2 minutes) so it is recommended that it is mixed and applied in manageable quantities (proceed by mixing small batches). Allow the quick-set, plugging mortar to set and harden 90 to 120 minutes before injecting.
Preparing the Grout:
Unscrew threaded cap from SikaFix® PU cartridge and then remove plastic plug. Both cap and plug must be kept if not using all grout in cartridge at one time. Attach the static mixing nozzle supplied and replace the threaded cap over the nozzle. Screw cap tightly to prevent leakage. Load the cartridge into a suitable caulking gun. When injection work is completed, remove threaded cap and the static mixing nozzle. Replace
plastic plug and cap to allow future use.
Injecting the Crack
IMPORTANT: Thoroughly pre-wet crack with clean water to ensure Sikafix® PU will expand and form a sealing foam, as required. SikaFix® PU MUST BE IN CONTACT WITH WATER IN ORDER TO REACT AND EXPAND. Remove any temporarily placed plugs from ports and insert tip of cartridge nozzle into lowest Sika® Injection T’s (No. 1) to start injecting. Pull the trigger of the caulking gun 3 to 4 times and then stop, in order to
allow SikaFix® PU grout to penetrate and to expand in the crack. Should there be no sign of water displacement after 4 to 5 minutes, repeat the injection (3 to 4
pressures on the trigger) through the same injection port. Once all water is displaced, SikaFix® PU will fill up part of the crack and the partially expanded resin will come out from the next Sika® Injection T’s up (No. 2).
When resin starts to flow out from Sika® Injection T’s No. 2 placed above, insert a plastic plug into the first Sika® Injection T’s (No.1). Inject grout into the second Sika® Injection T’s (No. 2) by pulling the trigger 3 to 4 times until partially expanded resin starts to come out from the following Sika® Injection T’s (No.3) located above. Place plastic plug into Sika® Injection T’s No.2 and continue in the same manner until all Sika® Injection T’s ports have been injected and securely plugged to prevent leakage of
unreacted grout resulting in unfilled cracks. After three (3) to five (5) hours, the excess of SikaFix® PU that came out to the surface of cracks (ouside foundation wall) will be easily removed using a sharp utility knife.
Note: SikaFix® PU is a two-component material conditionned in a single, compartmented cartridge. The cartridge design and the material reaction occuring upon
mixing may give the impression to the applicator that only half of the grout has been dispensed, where in fact, all the material has been extruded and applied.
CLEAN UP
Use either a solvent-based cleaner or Sika® Hand Cleaner towels to remove unreacted grout. Cured resin can only be removed mechanically.
DATA SHEET DOWNLOADS